Your cart is currently empty!
Composting to Build Better Soil

Compost is like a magic potion for your garden. It’s a nutrient-rich material created from decomposed organic matter, such as food scraps, leaves, and grass clippings. When you compost, you’re essentially letting nature break down these materials into a dark, crumbly substance that can be added to soil to help plants grow stronger and healthier. Plus, composting is a fantastic way to reduce waste and recycle nutrients back into the ecosystem.
Starting a composting project is both environmentally friendly and great for your garden. Here’s a quick guide to get you started:
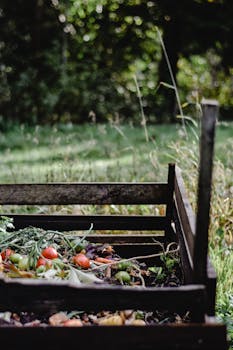
- Choose a Compost Bin: You can buy a compost bin or make your own. The size depends on how much compostable material you produce.
- Select a Location: Find a dry, shady spot near a water source for your compost bin.
- Add Compostable Materials: Layer your compost with a mix of “greens” (nitrogen-rich materials like fruit scraps, coffee grounds, and grass clippings) and “browns” (carbon-rich materials like leaves, straw, and cardboard).
- Maintain Moisture: Keep the compost moist, but not too wet. Think of a wrung-out sponge as your moisture guide.
- Turn the Pile: Every few weeks, turn the compost to aerate it. This helps speed up the decomposition process.
- Wait and Harvest: In a few months to a year, you’ll have dark, crumbly compost ready to use in your garden.
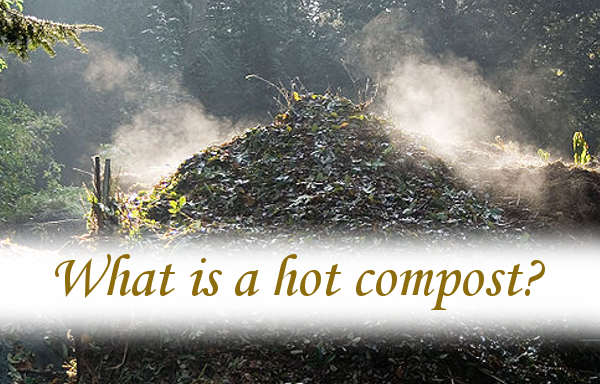
The main difference between hot composting and cold composting lies in the temperature and the speed at which the composting process occurs. Here’s a brief comparison:
- Hot Composting:

- Temperature: The pile heats up to temperatures between 130°F to 160°F (54°C to 71°C).
- Speed: Decomposes quickly, often producing usable compost in 1 to 3 months.
- Management: Requires more maintenance, such as frequent turning and monitoring of moisture levels.
- Materials: Needs a balanced mix of greens and browns, chopped into smaller pieces for faster decomposition.
- Advantages: Kills weed seeds and pathogens due to high temperatures.
2. Cold Composting:
- Temperature: The pile remains at ambient temperature, usually below 100°F (38°C).
- Speed: Decomposes slowly, taking 6 months to 2 years to produce usable compost.
- Management: Requires minimal maintenance, with occasional turning and watering.
- Materials: Can handle larger pieces and a wider variety of organic matter.
- Advantages: Easier to manage and requires less effort, but may not kill all weed seeds and pathogens.
Both methods have their benefits, so the choice depends on how quickly you want compost and how much effort you’re willing to put into it. Happy composting! 🌱
3. There is a third way to compost, using worms. This method is called vermicomposting and it’s a fantastic way to compost kitchen scraps and other organic material using worms. Here’s a quick guide to get you started:
- Choose a Bin: A shallow, plastic or wooden bin with a lid works well. Make sure it has drainage holes at the bottom and ventilation holes on the sides.
- Prepare Bedding: Shredded newspaper, cardboard, or coconut coir make great bedding. Moisten it until it feels like a wrung-out sponge.
- Add Worms: The most common type of worm used for vermicomposting is the red wiggler (Eisenia fetida). You can usually find them at a garden center or online.
- Add Food Scraps: Feed your worms small amounts of fruit and vegetable scraps, coffee grounds, and eggshells. Avoid meat, dairy, and oily foods. Bury the food in the bedding to minimize odors.
- Maintain the Bin: Keep the bin in a cool, dark place. Monitor the moisture level and add water if it gets too dry. Every few months, you can harvest the worm castings (the compost) and add fresh bedding.
Vermicomposting is an efficient and fun way to reduce waste and produce nutrient-rich compost.
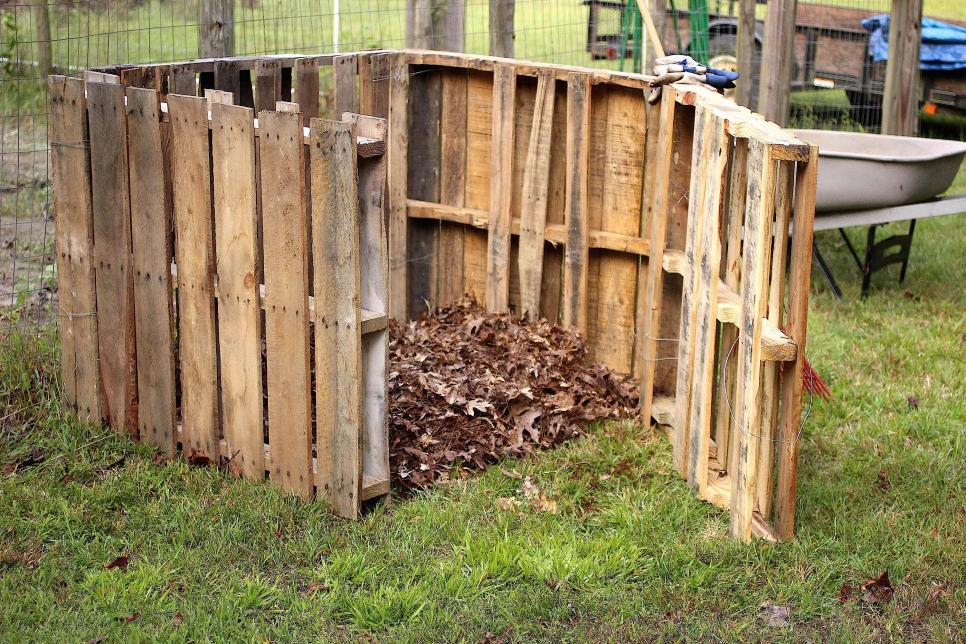
Using wooden pallets as a compost bin.
Materials Needed: Gather four wooden pallets and some sturdy wire, zip ties, or screws to secure them together.

Assembly:
- Stand three pallets on their sides to form a three-sided box. Secure the corners where the pallets meet.
- Use the fourth pallet as the front door. You can either secure it with hinges to make it easy to open, or simply leave it loose so you can remove it when you need access to the compost.
Location: Place your compost bin in a convenient, shady spot with good drainage.
Usage: Start adding your compost materials (greens and browns) to the bin. The slats in the pallets provide good aeration, helping the composting process.
It’s a simple, cost-effective way to create a compost bin. 🌿👍
Feel free to ask me if you have any questions. I compost lots of kitchen waste and also on a larger scale cow manure.